How to submit an assignment from OneDrive
IT Services is unable to grant the permissions necessary to use Blackboard Learn’s option to “Use Cloud Storage” for submitting assignments.
This means files must be saved to the computer from which they are submitted. In some cases, this may mean submitting files from a computer you don’t own, such as a lab machine. The steps below will go through how to submit assignments from these machines, as well as removing your file once it has been submitted in Blackboard. The steps are illustrated using Google Chrome on a Windows 10 computer. Different browsers and operating systems may vary.
Step 1: Download your assignment file(s)
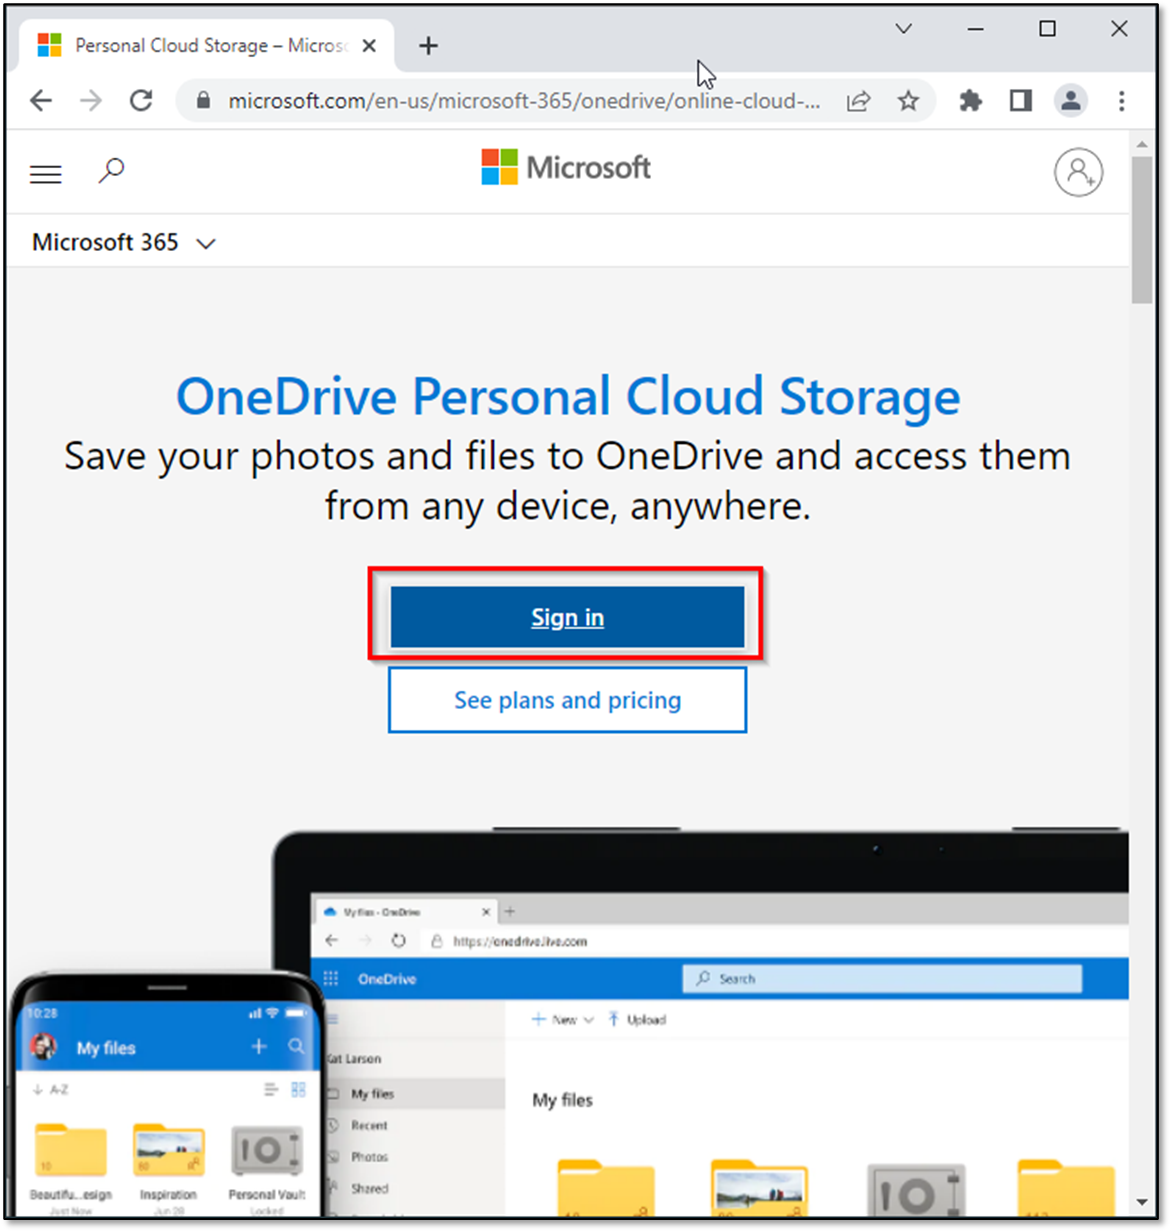
- Open a web browser and navigate to https://onedrive.com
- Click Sign in
- This opens a new tab requesting the email address used for your Microsoft account, enter it as requested
- Enter your Microsoft account password on the next screen

- Once logged in, locate the file you wish to submit, in this example: Assignment.docx
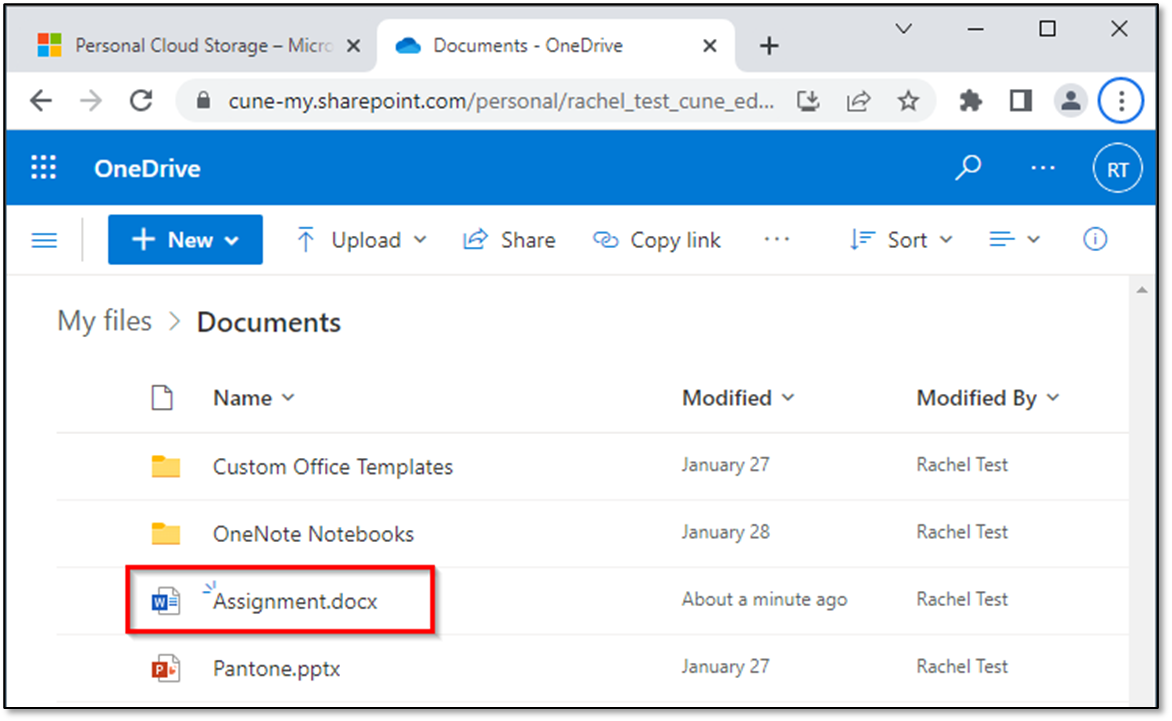
- Select the document
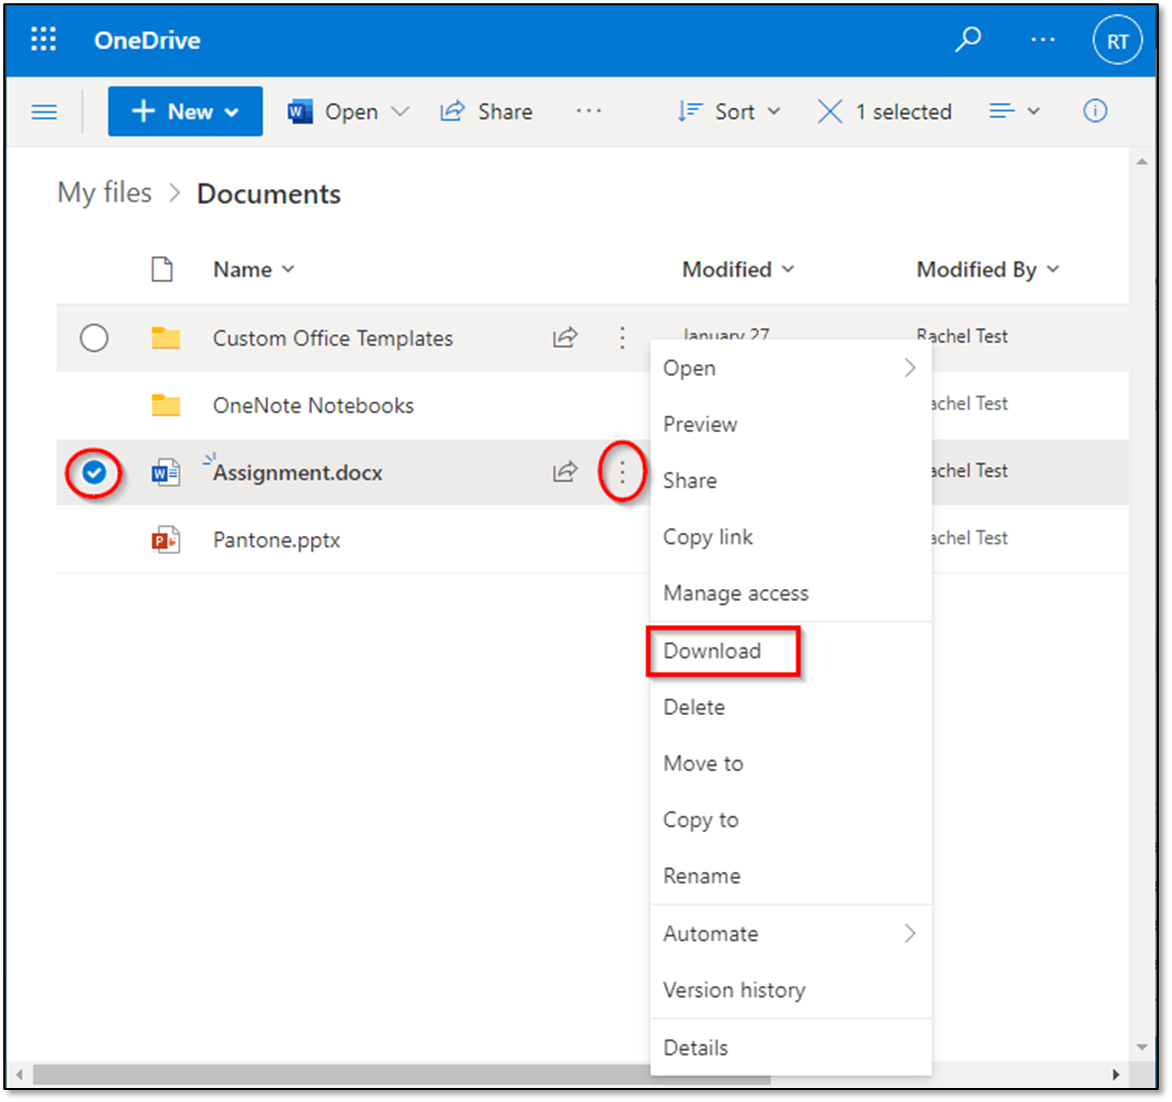
- Click the document’s menu options by selecting the three vertical dots to the right of the name
- Click Download
- The file will begin to download with the browser indicating its progress. In the Chrome browser, the file appears in the lower left corner
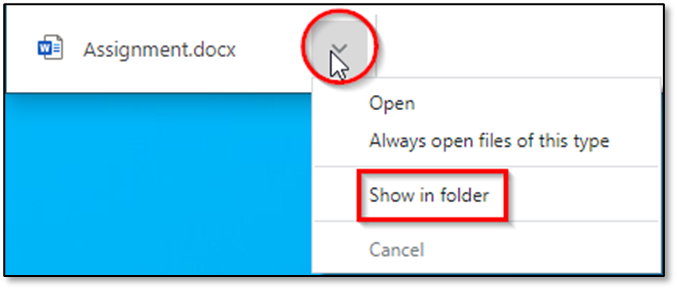
- Select the arrow next to the file’s name to reveal a menu
- Choose Show in folder
- This will open a file explorer window that indicates the location of the file(s), it is typically the Downloads folder
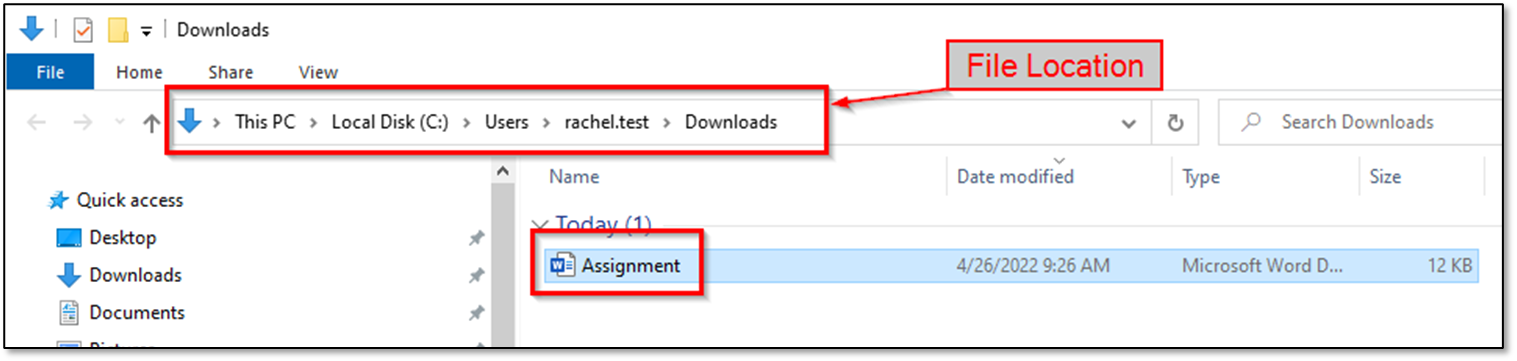
- Now you are ready to submit the assignment in Blackboard
Step 2: Upload the assignment file(s)
- Open a new web browser tab and log in to Blackboard ( https://blackboard.cune.edu )
- Navigate to your course
- Go to Submit Assignments
- Select to the assignment you wish to upload
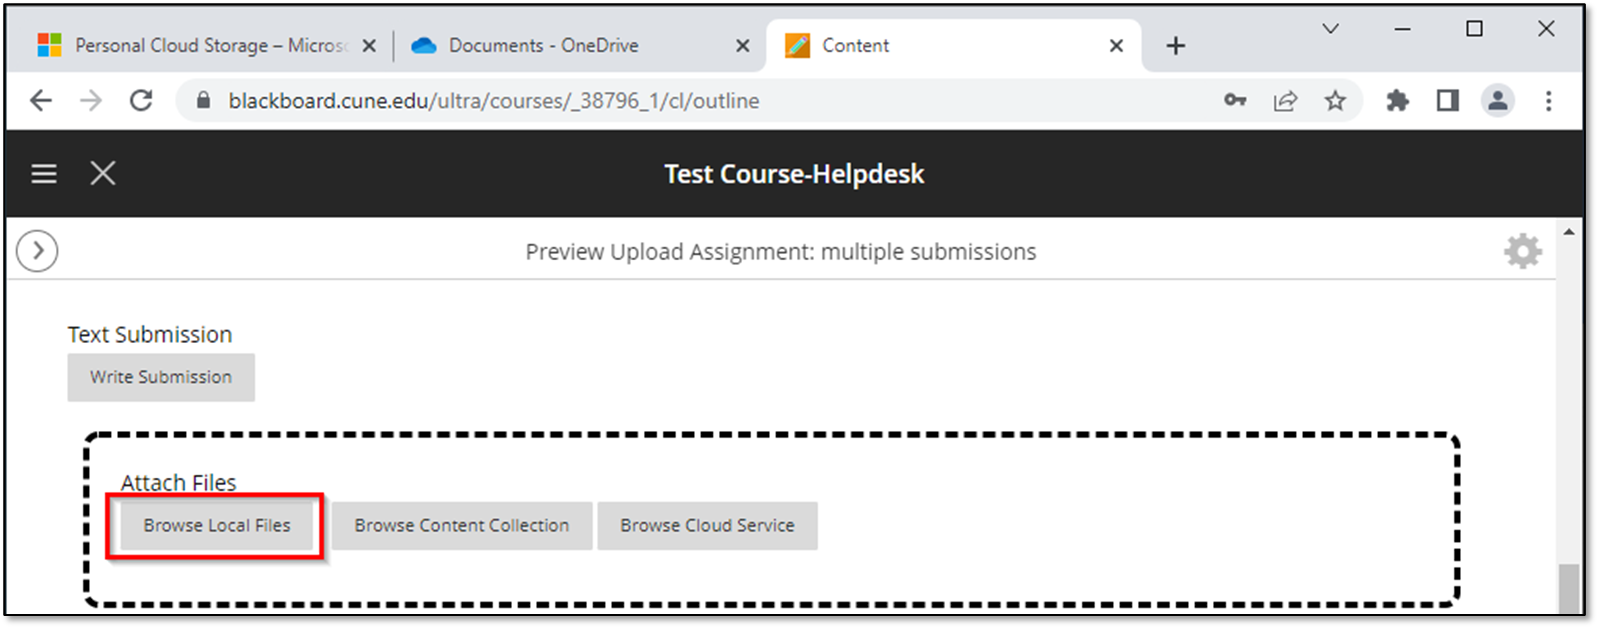
- In the Attach Files section, choose Browse Local Files
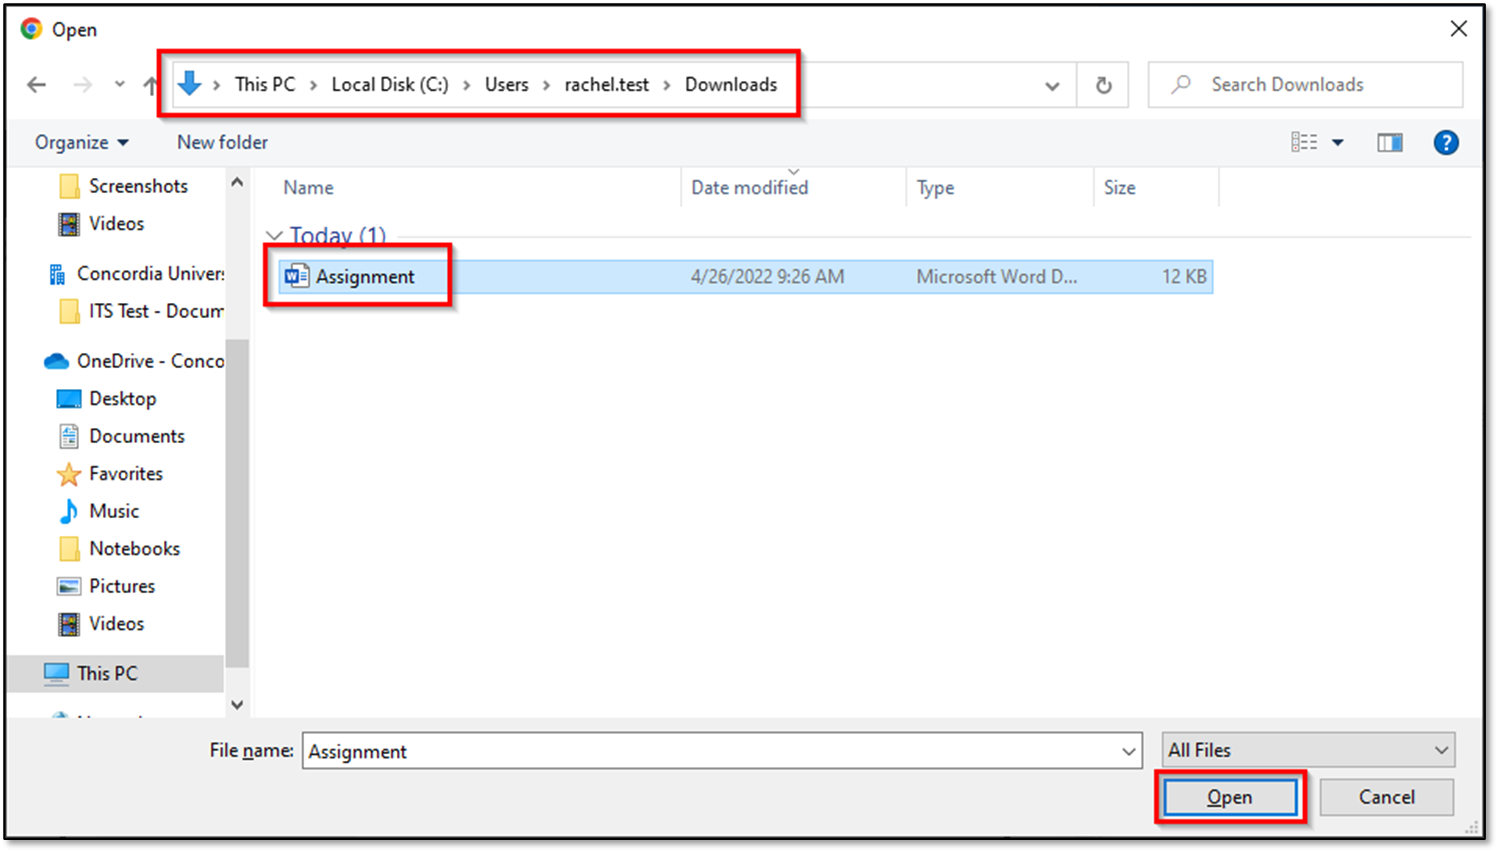
- In the dialog window that opens, navigate to the location where the file was downloaded (typically the Downloads folder)
- Select the desired file(s)
- Click Open
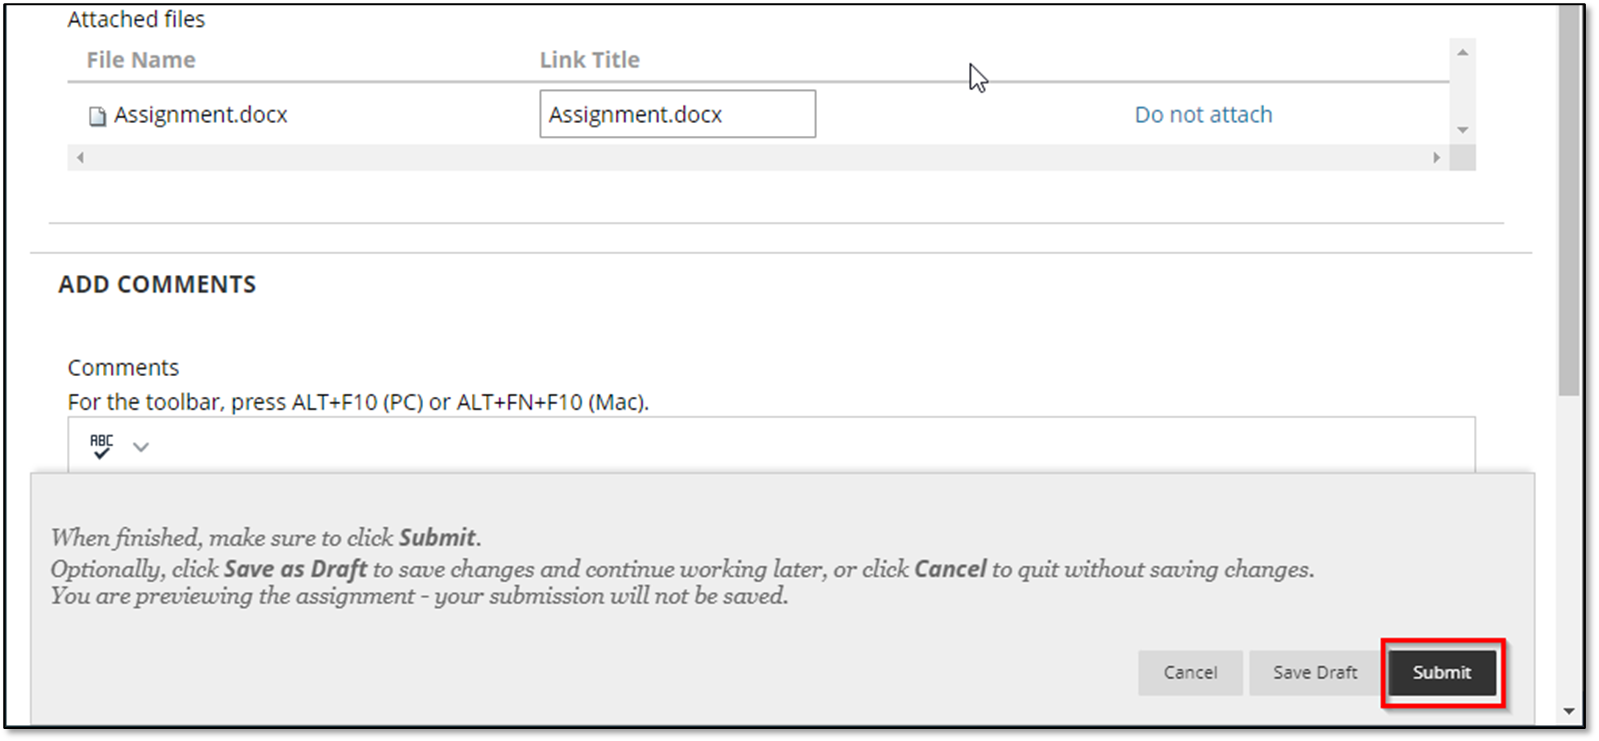
- Confirm the file is attached on your assignment
- Complete any additional steps required by your assignment
- Submit the assignment
- One the assignment is submitted, you should now remove your downloaded file(s) from the temporary computer
Step 3: Delete the downloaded copy of the file
When using a shared computer, such as a lab machine, it’s important that your hard work isn’t confused with another’s hard work and submitted by mistake. To eliminate this, remove your downloaded copy of the file from the shared computer. The original file is still saved to OneDrive.
- In the file explorer window, open to the location where the file was saved (you may still have this open from a previous step)
- Right-click the file
- Select Delete
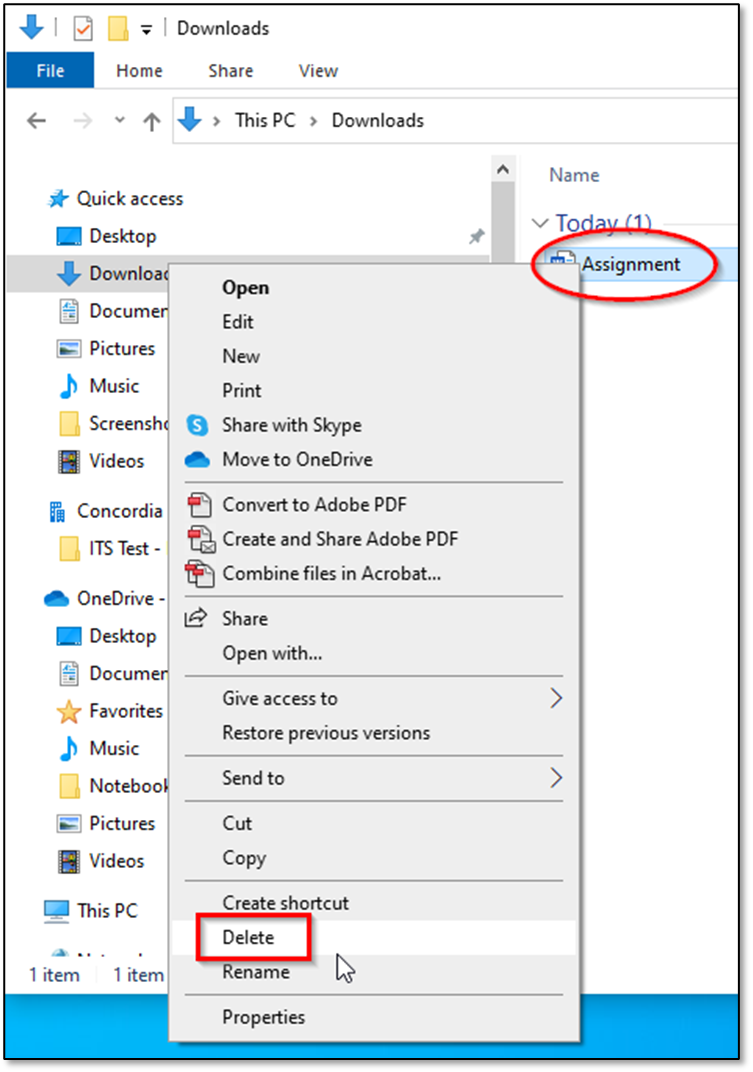
- This only places the file in the Recycle Bin/Trash, so it’s a good idea to delete it from there as well
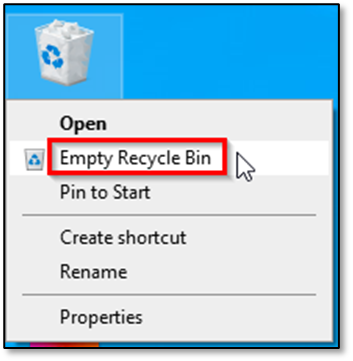
- Close all open windows and locate the Recycle Bin on the Desktop
- Right-click the icon
- Select Empty Recycle Bin
- Select Yes to confirm deletion of these files
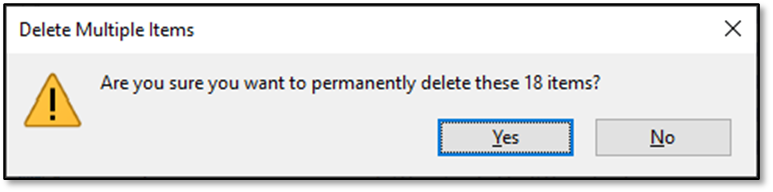
- The Recycle Bin is now empty and your temporary copy of the file has been removed from the shared computer
-
Alternately, if you aren’t comfortable deleting more than your own file(s) (perhaps you are borrowing a friend’s computer):
- Double-click the Recycle Bin to open it
- Locate your file(s)
-
Right-click and choose Delete